Setup & Configuration
Authored by:


This page covers the technical deployment and configuration of multisigs on supported networks.
Basic Setup
EVM Networks (Ethereum, Base, etc.)
- Go to https://app.safe.global
- Connect wallet of the deploying signer
- Create new Safe with your determined threshold and signer addresses
- Multi-network deployment: If deploying on multiple networks, Safe UI will offer to replicate the configuration
Solana
- Go to https://squads.xyz/squads-multisig
- Connect wallet of the deploying signer
- Create new multisig with your determined threshold and signer addresses
Self-Hosted Multisig UI
Multi-sig coordination UIs should be self-hosted to eliminate supply chain risk. Hosted UI should be IP restricted to allow access only from signer machines.
Deploy from Safe Wallet Monorepo. While it should not be your final line of defense, securing the UI does protect your verification process from being compromised by supply-chain attacks.
For emergency situations when the primary UI is unavailable, see Backup Signing & Infrastructure.
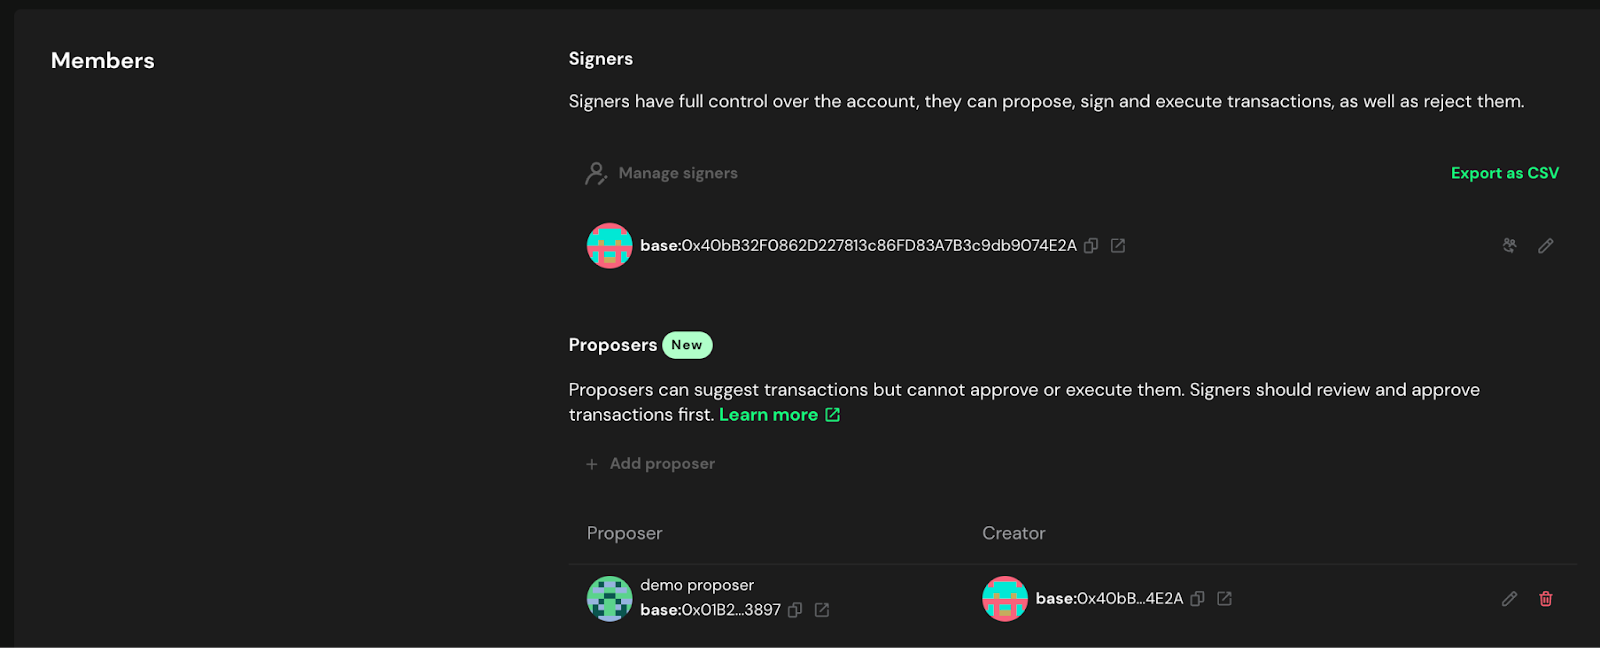
Delegated Proposer
It is recommended, but not required to authorize a separate transaction proposer for a Safe. This address can prepare transactions for signers to sign but is not an authorized signer on the Safe. Therefore there is no risk of malicious signatures which can affect the Safe assets. This wallet can hold no funds and simply act as a proposer. The primary reason to have a delegated proposer is that the hash verification utilities depend on the Safe API (unless details are entered manually). Until a transaction is proposed it does not show up in the API so the hash verification tools cannot detect it.
Modules & Guards
Allowance Module (Required for Treasury Multisigs)
If your multisig will hold any assets on behalf of the DAO, set up governance rescue capability:
Mainnet configuration:- Module: Allowance Module
- Grant allowance to: DAO Agent
- Amount: Max value for each token held
Zodiac Delay Modifier (Time-Locks)
Consider using Zodiac Modifier Delay or equivalent for implementing on-chain time-lock transaction delays to Safe wallets.
See Use Case Specific Requirements for detailed timelock configuration guidance.
Other Modules
Do not install any other modules or guards without explicit governance approval and security review.
Contract-Level Controls
Advanced Configuration Warning: The following contract-level controls are advanced security features that can provide additional protection but require careful implementation. Before implementing any guards or modules:
- Conduct thorough research on available guard implementations and their compatibility with your multisig setup
- Ensure all guards are well-audited by reputable security firms before deployment
- Test extensively on testnets to verify functionality and edge cases
- Understand the risks: Incorrect configuration or incompatible guards can render your multisig unusable, potentially locking access to funds permanently
Address Whitelisting
Approved smart contract and wallet addresses must be added to a whitelist that is enforced at the contract-level. Interactions with all other addresses should be denied and revert the transaction. Updating the whitelist should require an extra signer in addition to the standard transaction approval quorum.
Invariant Enforcement
Design contracts to enforce invariants and expected state changes such as token balance changes, ownership and administration, and proxy implementation addresses. Ensure contracts automatically revert transactions if any invariant is violated.
Initial Testing
Verify Basic Functionality
- Small test transaction: Send a low-value token transfer (e.g., 1 USDS or equivalent)
- All signers test: Ensure each signer can successfully sign the test transaction
- Confirm execution: Verify the transaction executes as expected
- Test communication: Use your established channels to coordinate the test
Pre-Launch Checklist
- Safe deployed with correct threshold
- All signer addresses added and verified
- Allowance module configured (if required)
- Test transaction completed successfully
- All signers confirmed they can sign
- Communication channels tested during transaction
- Safe addresses documented for all networks
Practice on Testnet
Before deploying on mainnet, thoroughly practice wallet creation, transaction signing, and owner management on a test network.
Once setup is complete, proceed to Registration & Documentation for registration and documentation requirements.
Nested Safes
A nested Safe is one in which a Safe is set as a signer on another Safe rather than an EOA. This can be useful on a case-by-case basis. For example, if a signer is an entity that might want to have multiple individual signers, the nested Safe could have a 1/X threshold allowing anyone authorized on the team to sign. However, this configuration allows the signers on the nested Safe to update the signer addresses without needing authorization from the main Safe.
It is generally recommended not to use nested safe on protocol multisigs unless there is a specific use case that it enables.
Next Steps
After completing setup:
- Registration & Documentation - Document your multisig
- Communication Setup - Establish secure communication
- Hardware Wallet Setup - Ensure all signers are properly configured
Active Monitoring
Implement monitoring and alerting systems to be immediately notified of any on-chain activity related to the multisig, including proposed transactions, new signatures, and owner changes (e.g., using tools like Safe Watcher).
Immutable Monitoring Channels
Monitoring channels (e.g. email, Slack or Telegram chats) must be immutable (or trigger alerts when their configuration changes or logs are deleted/tampered with) and redundant such that an admin could not disable or tamper with one monitoring channel without generating an alert on the other channel.